|
Step 1
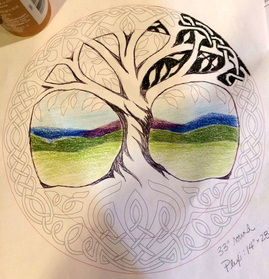
Start with a sketch. In this case, the client wanted a Celtic Tree of Life. I found numerous references online and developed one that we both agreed would work perfectly. |
|
|
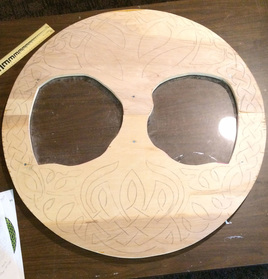
Step 3
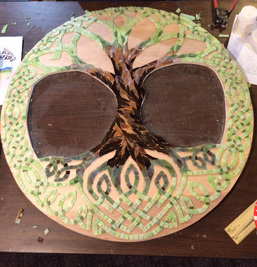
Transfer a copy of the line drawing onto the wood and start tiling with the foreground pieces. I Break down the design into elements. In this case, I started with the braid, moved to the tree roots and branches, and then faded into the trunk of the tree. |
|
|
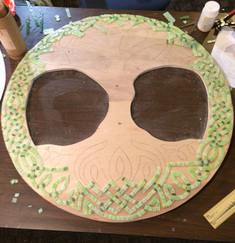
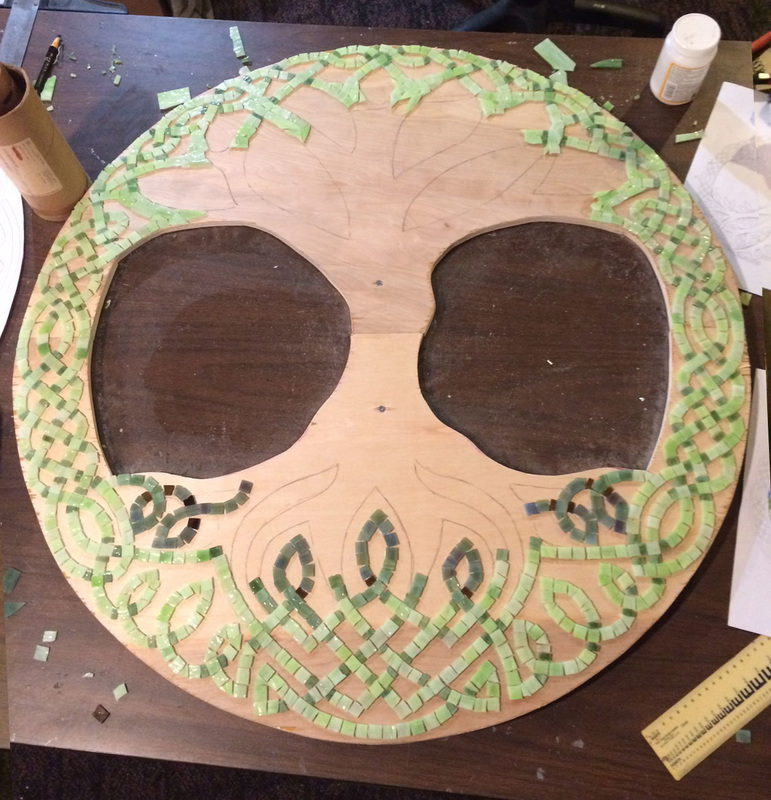
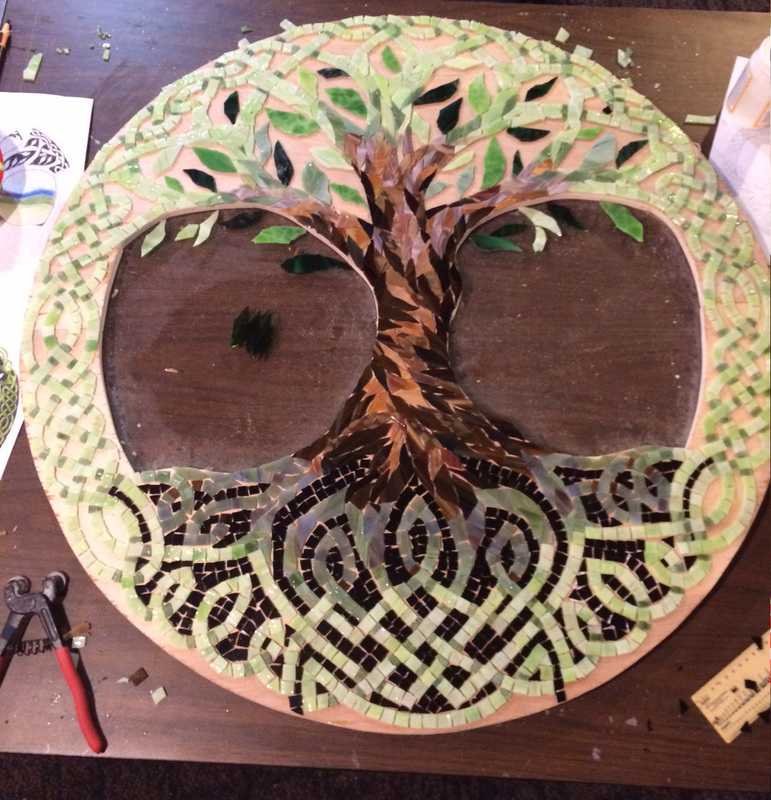
Step 4
Once the foreground is done, including any focal pieces (like leaves, flowers, etc.) I fill in the background. This is the most time consuming of the steps since the tiny little areas require pieces being cut into specific shapes. |
|
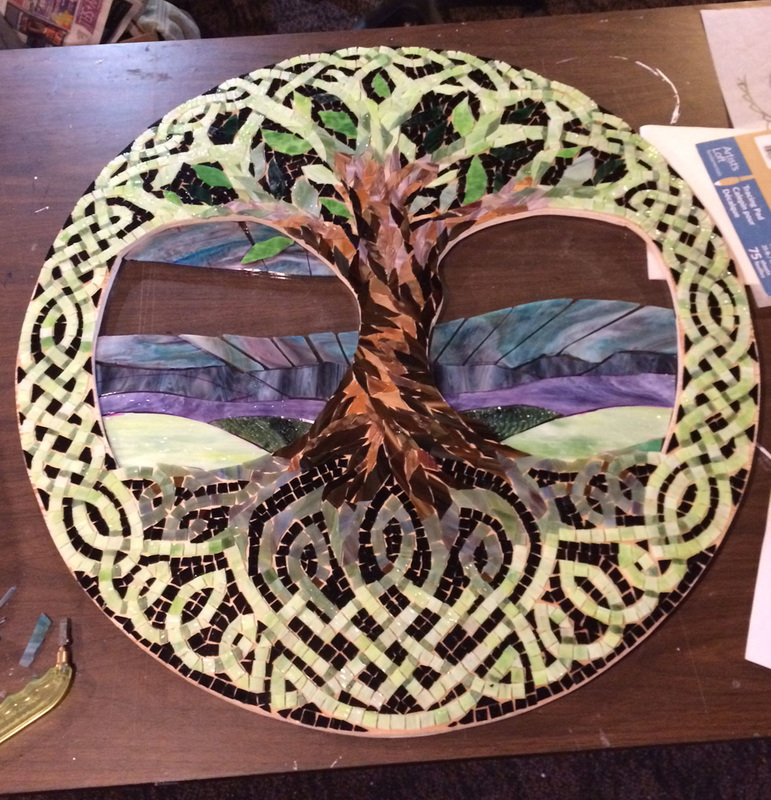
Step 5
When the background is filled in I cut the larger pieces for the backlit areas, making sure to choose glass that is more transparent and will show the light. |
|
|
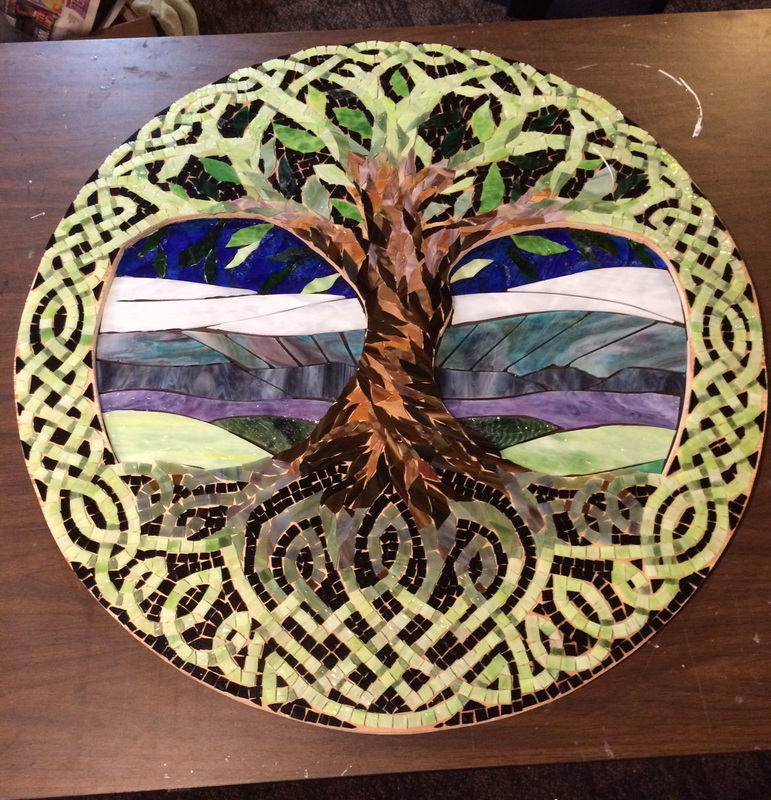
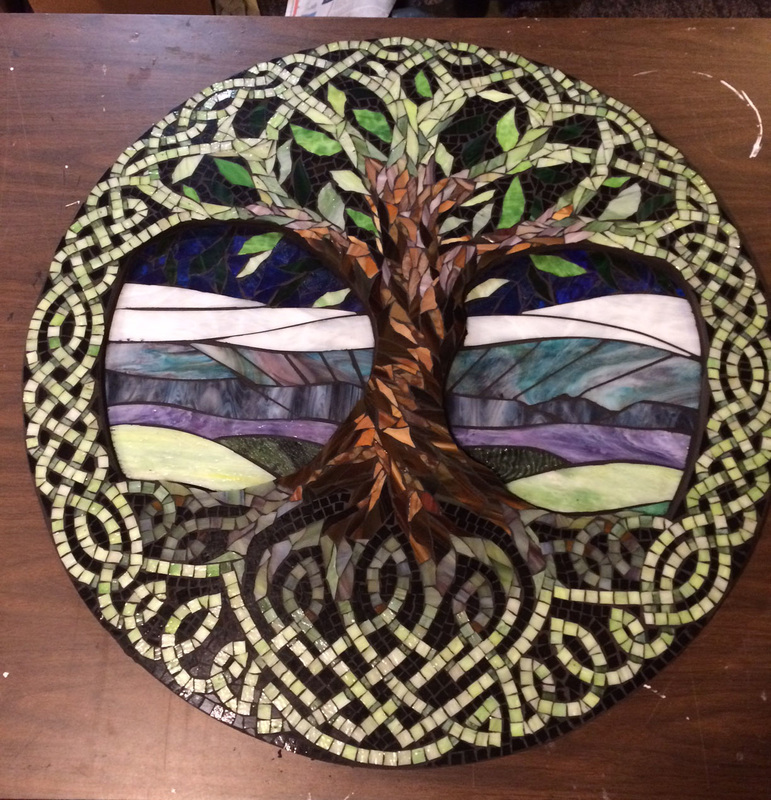
Step 6
Grout. This is the messy part, but also the most exciting because grout is very forgiving. It hides the not-so-perfect parts and makes the colors pop. |
|
|
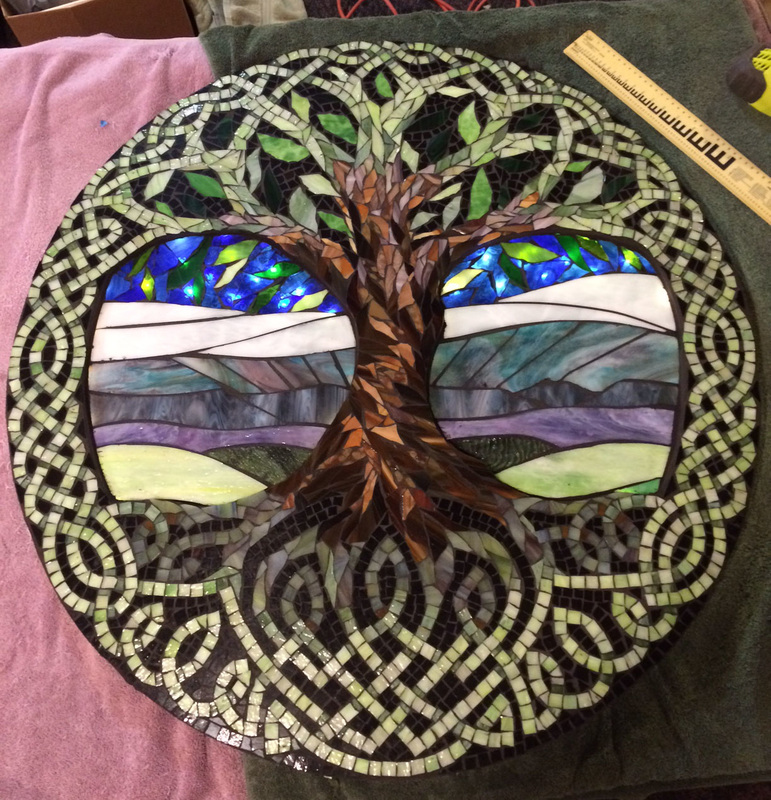
|
Finished product! I clean the excess grout and haze off the glass using distilled white vinegar. Once dry, I attached the battery operated LED lights to the back of the plexiglass to light up the sky area.
|
|
